How to Build a Beautiful Party Gift Box Using Stickers
The complete guide for mums, teachers, event planners & anyone who wants to create a stunning party moment.
Creating a beautiful party gift box doesn’t have to be complicated or expensive. With the right stickers, simple boxes, and a little creativity, you can transform ordinary packaging into something personal, polished and Pinterest-worthy.
Whether you're preparing for a baby shower, birthday party, classroom celebration or holiday gift, customised stickers add personality, charm and a premium feel, without the premium price tag.
Here’s exactly how to design, assemble and decorate party gift boxes using personalised stickers.
🎀 Why Stickers Are the Secret to a Gorgeous Gift Box
Stickers are one of the easiest ways to elevate a simple box. Here’s why they work so well:
✔ They add instant personalisation
A name, date or theme turns a plain box into something meaningful.
✔ They create a cohesive party aesthetic
Matching colours, fonts and motifs make your event look beautifully styled.
✔ They’re affordable
Even budget favour boxes look boutique with the right sticker.
✔ They’re fast
Stickers take seconds to apply, perfect for busy parents or teachers.
✔ They photograph well
For baby showers and birthdays, this is HUGE. Guests love snapping photos of cute favours.
🧸 Step 1: Choose the Right Gift Box Style
Your box sets the foundation for your whole design. Popular styles include:
1. Kraft Boxes (Natural, Minimal, On-Trend)
Perfect for teddy bear themes, rainbows, boho, eucalyptus and earthy palettes.
2. White Gloss or Matte Boxes
Ideal for pastel or bright themes (unicorn, fairy, rainbow, baby shower).
3. Clear Acetate Boxes
Great for showcasing sweets, cookies, macarons, mini candles or bath salts.
4. Pillow Boxes
Perfect for lollies, small toys, jewellery or pamper items.
5. Magnetic Gift Boxes
A luxe option for high-end gifting or teacher appreciation boxes.
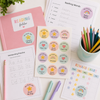
🌈 Step 2: Choose the Perfect Sticker Shape & Size
Here’s a quick sizing guide:
Round Stickers
-
40mm → best for small boxes, envelopes, small jars
-
50mm → the most popular size for party boxes
-
60mm → perfect for larger boxes, baskets or gift bags
Square or Rectangle Stickers
-
Great for longer names, messages or themed illustrations
-
Ideal for welcome boxes or teacher gift sets
The key rule:
The sticker should take up 50–70% of the box lid for the most premium look.
🌟 Step 3: Match the Sticker to Your Party Theme
Your sticker is the main styling element. Choose one that reflects:
-
Party theme
-
Colour palette
-
Character or illustration
-
Event type
Popular sticker themes for gift boxes:
-
🧸 Teddy bears
-
🌈 Rainbows
-
🌿 Eucalyptus
-
🍓 Kawaii food characters
-
🦄 Unicorns
-
🚜 Construction
-
🧁 Cupcakes
-
🎨 Artist themes
-
🎶 Music themes
-
🎉 Neutral minimalist designs
When the sticker matches the party aesthetic, everything looks instantly curated.
🎁 Step 4: Fill Your Box in a Beautiful Way
It’s not just the sticker — it’s the whole unboxing experience!
Choose a filler:
-
Shredded kraft paper (neutral, eco-friendly)
-
White crinkle paper (premium + clean)
-
Soft tissue paper in a matching colour
-
Fabric swatches for boho themes
Add beautiful contents:
Here are cute, affordable ideas:
-
Small candles
-
Lollies or chocolates
-
Bath salts or mini soaps
-
Sticker sheets
-
Mini plush toys
-
Colouring pages
-
Pencils or crayons
-
Cookies or cupcakes
-
Personalised name labels
-
Temporary tattoos
Pro Tip:
Use 2–3 items only.
Overfilling looks cluttered. Minimal is premium.
🕊️ Step 5: Arrange Everything Neatly
A tidy layout makes a huge difference.
✔ Keep taller items at the back
✔ Place smaller items at the front
✔ Use filler to stabilise loose items
✔ Leave “air space” so the box doesn’t look overcrowded
🌟 Step 6: Add the Sticker (the fun part!)
Apply your sticker:
-
centred
-
straight
-
with firm pressure
-
on a clean, dry surface
For a premium boutique look:
Place the sticker on the lid, not on the side of the box.
For clear boxes:
Use the sticker as a seal — it looks stunning.
🎉 Bonus: Add Matching Stickers Inside the Box
If you want a next-level aesthetic:
-
Add a small thank-you sticker inside the lid
-
Add a mini “Enjoy!” sticker on tissue paper
-
Add themed confetti stickers to surprise the recipient
These tiny touches make your box feel thoughtfully designed.
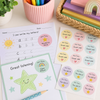
📸 Step 7: Photograph Your Gift Boxes (Optional but Powerful)
Beautiful photos help mums, teachers and customers visualise how your stickers work.
Photography tips:
-
Use natural daylight
-
Keep backgrounds neutral
-
Shoot from above (flat lay) or at 45°
-
Avoid busy props
-
Focus on the sticker
If you’re selling stickers, these images are gold for product listings and Pinterest.
✨ Gift Box Inspiration by Theme
Use these examples to spark ideas:
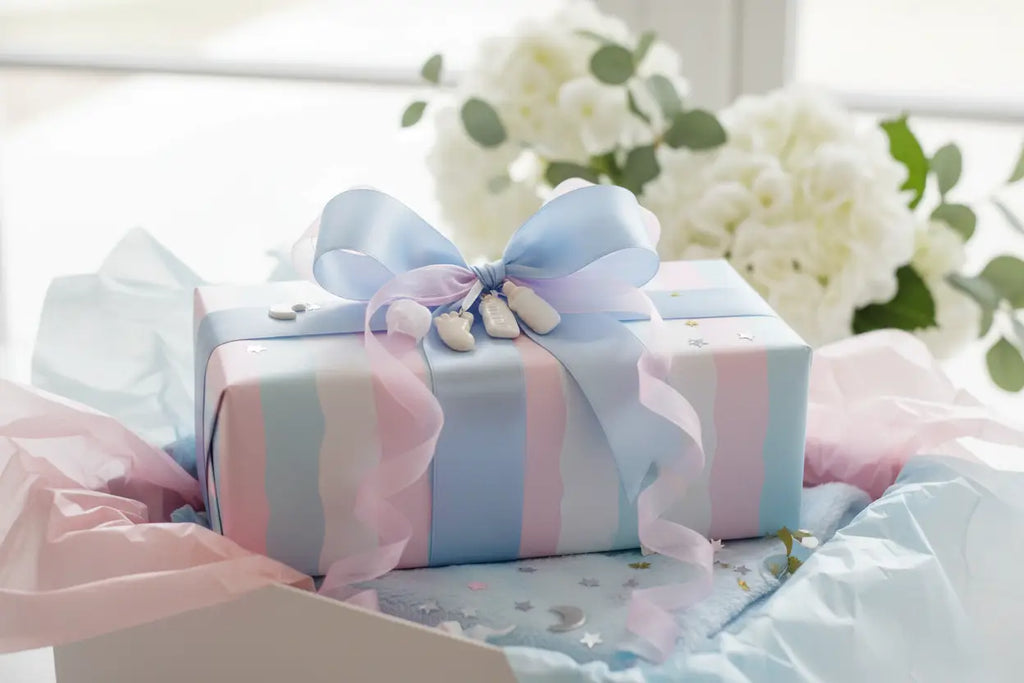
Teddy Bear Baby Shower Box
-
Kraft box
-
Beige shredded paper
-
Teddy bear sticker
-
Mini candle + chocolates
Rainbow 1st Birthday Box
-
White box
-
Pastel tissue paper
-
Rainbow sticker
-
Lollipop + sticker sheet
Teacher Appreciation Box
-
White magnetic box
-
White crinkle paper
-
“Thank You Teacher” sticker
-
Hand cream + chocolates + pen
Unicorn Party Box
-
Pink box
-
Iridescent filler
-
Unicorn sticker
-
Candy + bracelet + mini notebook
💡 Frequently Asked Questions
What size sticker should I use on a gift box?
50mm is the most popular and fits most lids perfectly.
Use 60mm for larger boxes.
Can I personalise the sticker with a name or age?
Yes, personalised stickers look significantly more premium.
Do stickers stick well to kraft or matte boxes?
Yes. Just ensure the surface is clean and dry.
Will stickers make cheap boxes look better?
Absolutely. A well-designed sticker transforms the entire presentation.
🛒 Final Tip: Choose High-Quality Stickers
The quality of the sticker makes a big difference.
Look for:
-
Premium matte or gloss finish
-
High-resolution designs
-
Clean typography
-
Soft, modern illustrations
-
Consistent colour palettes
If you’re making your own gift boxes, Sticksy’s collection of personalised stickers covers every theme from teddy bears to rainbows to kawaii characters. S
Shop personalised birthday stickers
-
Posted in
AestheticPackaging, BabyShowerStickers, BirthdayStickers, CustomStickers, CutePackaging, DIYGiftBox, DIYPartyDecor, EventStyling, FavourBoxIdeas, GiftBoxIdeas, GiftBoxStyling, GiftPackagingIdeas, KidsPartyIdeas, MadeInTasmania, PackagingDesignInspo, PartyDecorIdeas, PartyFavours, PartyGiftBox, PartyPlanner, PersonalisedStickers, RainbowPartyTheme, ShopSmallAustralia, SmallBusinessAUS, StickerDecor, TeddyBearTheme
